
Painting a room is an exciting way to improve your living spaces and add value to your home. However, the difference between a messy DIY job and a professional-looking finish lies in the details. Whether you’re a painting novice or have done this before, here are tips to guide you through the steps to paint like a pro.
Paint Like a Pro
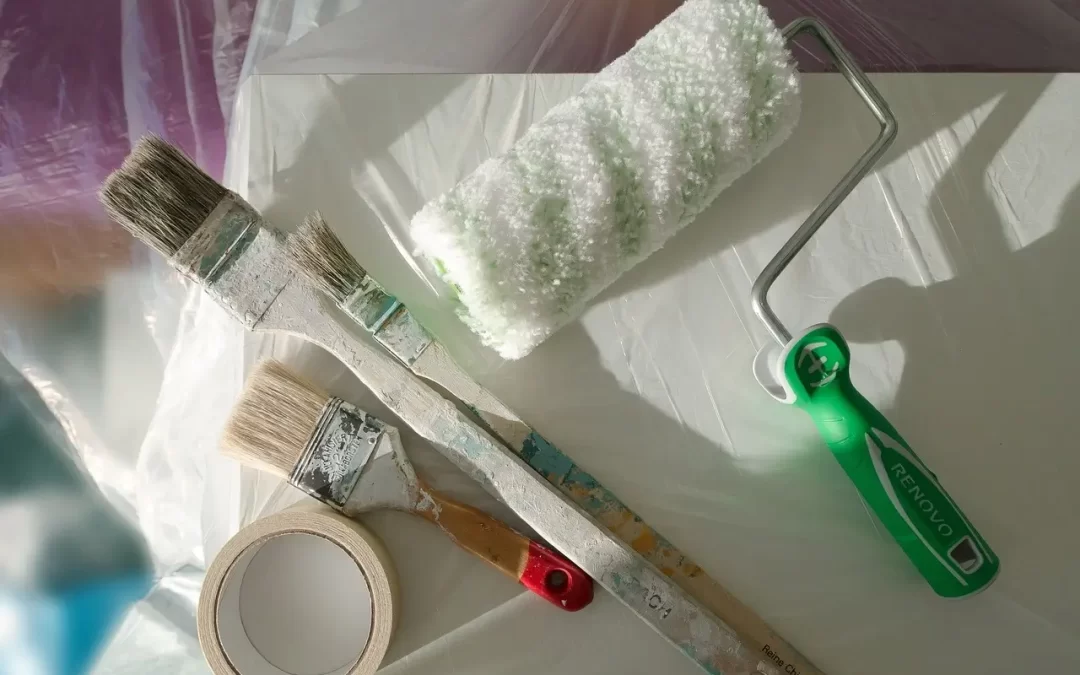
Step 1: Choose Quality Materials
High-quality paint might cost more, but it has better pigmentation and will cover your walls more effectively. You’ll need fewer coats, saving time and money in the long run. When selecting brushes and rollers, opt for ones that are durable and designed for the type of paint you are using (water-based or oil-based). These higher-end tools give you better coverage and won’t shed bristles or roller lint into your beautiful new paint job.
Step 2: Prep Your Space
Before you dip your brush into the paint, take the time to prepare the room properly.
- Remove furniture or place it in the center of the room and cover it with a drop cloth.
- Use painter’s tape to mask off trim, window frames, door frames, and any area you do not want painted.
- Clean the walls to remove dust, dirt, and oils.
- Fill holes and cracks with spackle, then sand them smooth once dry.
Preparation is key in painting. Cutting corners here leads to additional work down the line.
Step 3: Prime the Walls to Paint Like a Pro
Primer is a base coat that ensures a better bond between the wall and the paint, resulting in a more uniform finish. It is especially important if you’re working with new drywall, dark colors, or covering stains. Some paints include primer. However, a separate primer before painting fills in small imperfections and creates a smooth surface necessary for the best outcome.
Step 4: Painting Techniques
- Start by cutting in (painting at the corners, ceiling, and baseboard edges) with a brush. Do this step one section at a time before using the roller on the same section, keeping the edges wet for better blending.
- When using the roller, paint in small sections and use a zig-zag pattern. Start from the top and work your way down to ensure complete coverage.
- After painting a section, go over the section in one direction with smooth, consistent strokes to smooth the paint.
- Apply two thin coats rather than one thick one for a more evenly distributed finish that is less likely to peel or show roller marks.
Step 5: Paint Like a Pro: Attention to Detail
Attention to detail enhances the quality of your job. Here are a few tips.
- Maintain wet edges to avoid lap marks.
- Don’t overload the brush or roller with paint.
- Remove painter’s tape before the paint is completely dry to prevent peeling.
- Clean up drips and splatters immediately to avoid hard-to-remove stains.
Step 6: Post-Painting
Once the job is complete, clean your brushes and rollers thoroughly so they are ready for the next use. Allow the paint to dry completely, which takes time, depending on the temperature and humidity levels. Return furniture to its place only after you know the walls are dry.
If you do it right, DIY painting projects are rewarding and money-saving. With these steps and tips, even a novice painter can achieve professional-looking results that will make any space more inviting and vibrant. A great paint job involves careful preparation and attention to detail.
FAQs
What paint finish is best for each room?
It depends on the room’s purpose and the desired aesthetic. Generally, flat or matte finishes work well for low-traffic areas like bedrooms and ceilings. Eggshell or satin finishes suit moderate-traffic areas like living rooms and dining rooms. Semi-gloss or high-gloss finishes are ideal for high-traffic areas like kitchens and bathrooms due to their durability and ease of cleaning.
How do I choose paint colors for my bathroom?
When selecting paint colors for a bathroom, consider the size of the space, lighting conditions, existing fixtures, and desired ambiance. Lighter shades make a small bathroom feel more spacious, while bold or darker colors add warmth. Test paint swatches in the space to see how they look under different lighting conditions before making a final decision.
Can the weather affect my DIY paint project?
Yes, weather conditions can impact the outcome of your paint project. Extreme temperatures, high humidity, and direct sunlight affect drying times, adhesion, and finish quality. It’s best to paint during mild weather conditions to ensure optimal results. If you’re tackling exterior painting projects, choose a day with moderate temperatures and low humidity.
Is it a bad idea to paint the ceiling?
Not at all! Painting the ceiling can enhance the overall look of a room and make it feel more cohesive. However, it’s essential to use the right tools and techniques to avoid drips and streaks. Use a roller with an extension pole for easier application and maintain proper ventilation to reduce paint fumes.
What are other ways I can use paint to improve the interior of my home?
Besides painting walls and ceilings, there are numerous creative ways to use paint to enhance your home’s interior. Create an accent wall to add visual interest, refresh outdated furniture with a fresh coat of paint, create a custom mural, update cabinet doors and trim, and paint interior doors or stair risers to add color to your living spaces.
Inspect Co. LLC offers professional home inspection to customers in North and South Carolina. Contact us to schedule our services.